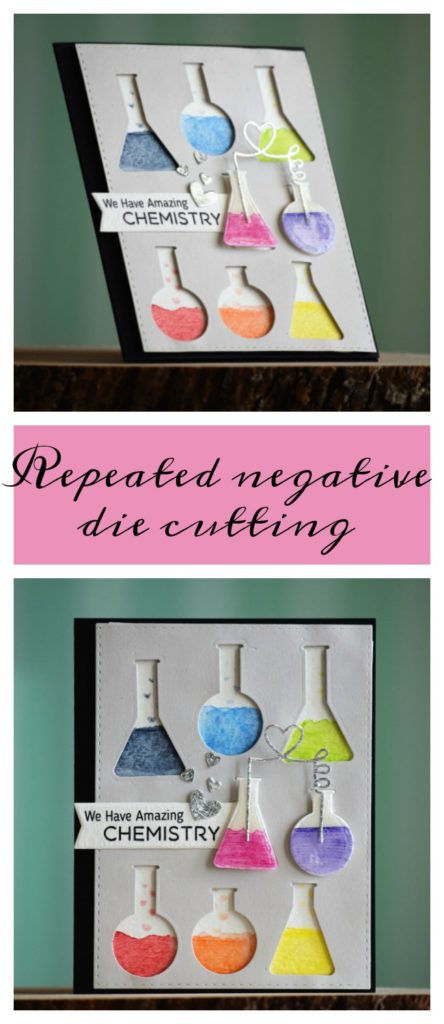
Background check – repeated negative die cutting
- varadasharma
- Feb 28, 2017
- 4 min read
Hello friends! Today is the last tip in this series of #vsbackgroundcheck. Thanks for sticking with me so far. Hope you have been enjoying these tips as well as getting inspired to try some of them yourself!!
Today’s card uses a technique that is almost reverse / opposite of the last one. Today we will be using the negative area after repeatedly die cutting positive images out of it.
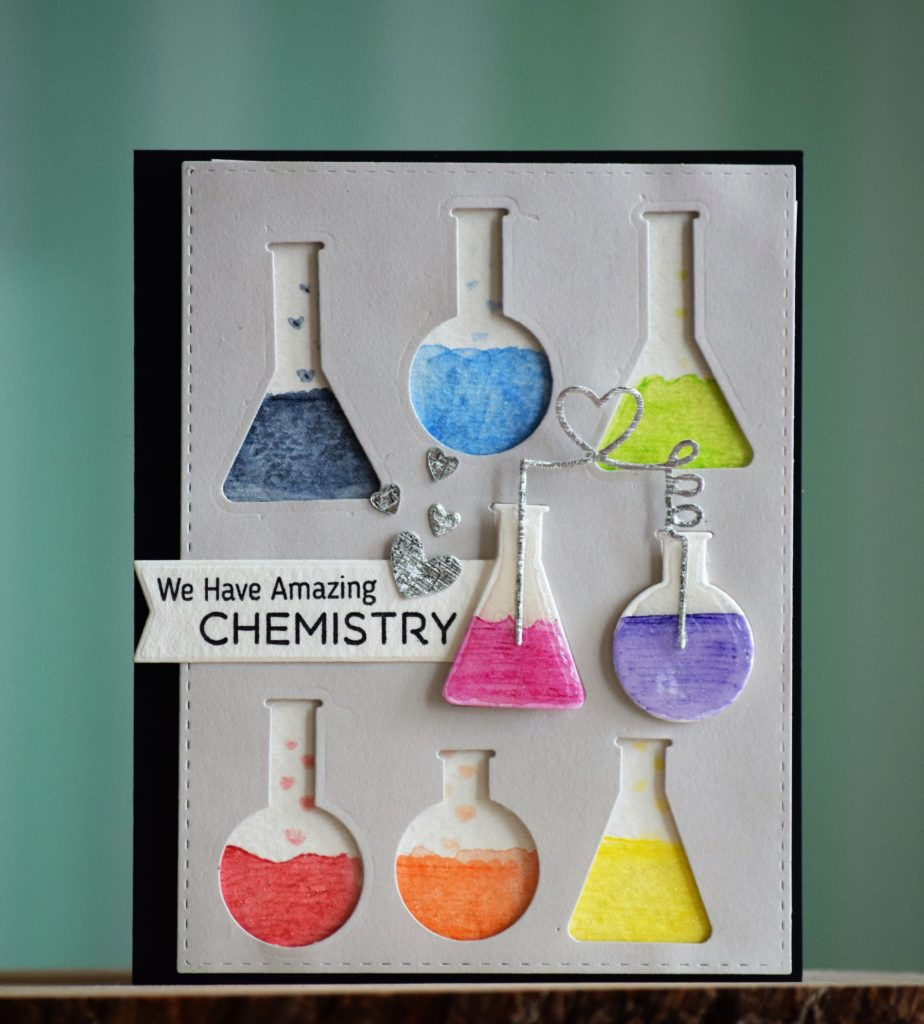
I started with a gray panel die cut using the largest stitched rectangle die from SSS. For rest of this project, I used My Favorite Things’ Undeniable Chemistry stamp and die set. This die set has cute little beakers in four different sizes. I used these to cut out 8 pieces from my gray rectangle.
Focal point
I also cut two of these beakers using Strathmore watercolor paper. I colored these using my newest loves – Derwent Inktense pencils! (More on these coming in next month posts. I am so in love!) Once the color dried, I went over it with my Wink of Stella clear glitter pen. I also cut the connecting heart tube using some silver cardstock. First I adhered the connector to the beakers and then covered entire surface of the beakers with more glossy accents. Then I simply left them alone overnight to create my own puffy sticker ;-)
I stamped a matching sentiment using stamps from the same set and Archival black ink.
Background
I cut another panel of Strathmore watercolor paper to be slightly smaller than my top gray negative die cut panel. Using the negative die cut panel as my guide, I colored with more Inktense pencils to make it look like a bunch of colorful liquids. These pencils look almost like regular colored pencils on their own. But just-add-H2O and the magic happens! They give beautiful, vibrant colors.
Also while the color was still wet, I used one more image from the stamp set to pull blobs of the same color above the liquid. The stamp I used had a bunch of hearts. Because I used it with very wet paint, it did not stamp perfect heart shapes. Instead, it almost looks like the liquids were bubbling and colorful puffs / bubbles were coming out of these beakers. I love happy accidents like this. :-)

Assembling the card
To assemble the card, I added the negative panel onto the watercolored panel using foam tape. I cut thin strips of it to use in those crevices. I tucked the sentiment banner under one of the focal point beakers and foam mounted the beakers into two spots on the panel. I also added several die cut hearts that match the silver tube to add just a hint of bling. Finally I attached the whole panel to a black card base using scortape.
Tips:
The leftover positive pieces from this card can be used to create another card like the one you saw in previous post.
Instead of using foam tape to adhere those tiny crevices, you could attach a foam panel to the back of the main cardstock and cut all of it at one go. Will give this trick a try next time.
Some other shapes that will look great with negative die cutting would be coffee / tea cups, flowers, feathers, leaves, fishes or even sea-shells.
Supplies list
I am sharing links to the supplies I’ve used for these cards – click on the picture or link to go directly to the product. Wherever available, I have used affiliate links, which means when you make a purchase, I receive a small commission (at no extra cost to you) which I use to run this blog. I truly appreciate your support!


Giveaway
This month onwards, I am hosting giveaways! To win a $20 gift card to a craft store of your choice, leave a comment here by 11:59pm CST on 2/28/2017. (The winner’s name will be randomly selected and emailed after the giveaway closes. International folks are eligible, too!)
Please do spread the word about this for me. If you post about this on social media, please use the tag #vsbackgroundcheck
Pin this
Some more project photos, so you can pin these and come to it later. I’d love it, if you pinned and dropped by on Pinterest…
Big thank you and warm hugs! ~Varada

Comments