Hello, crafty friends! 🌸
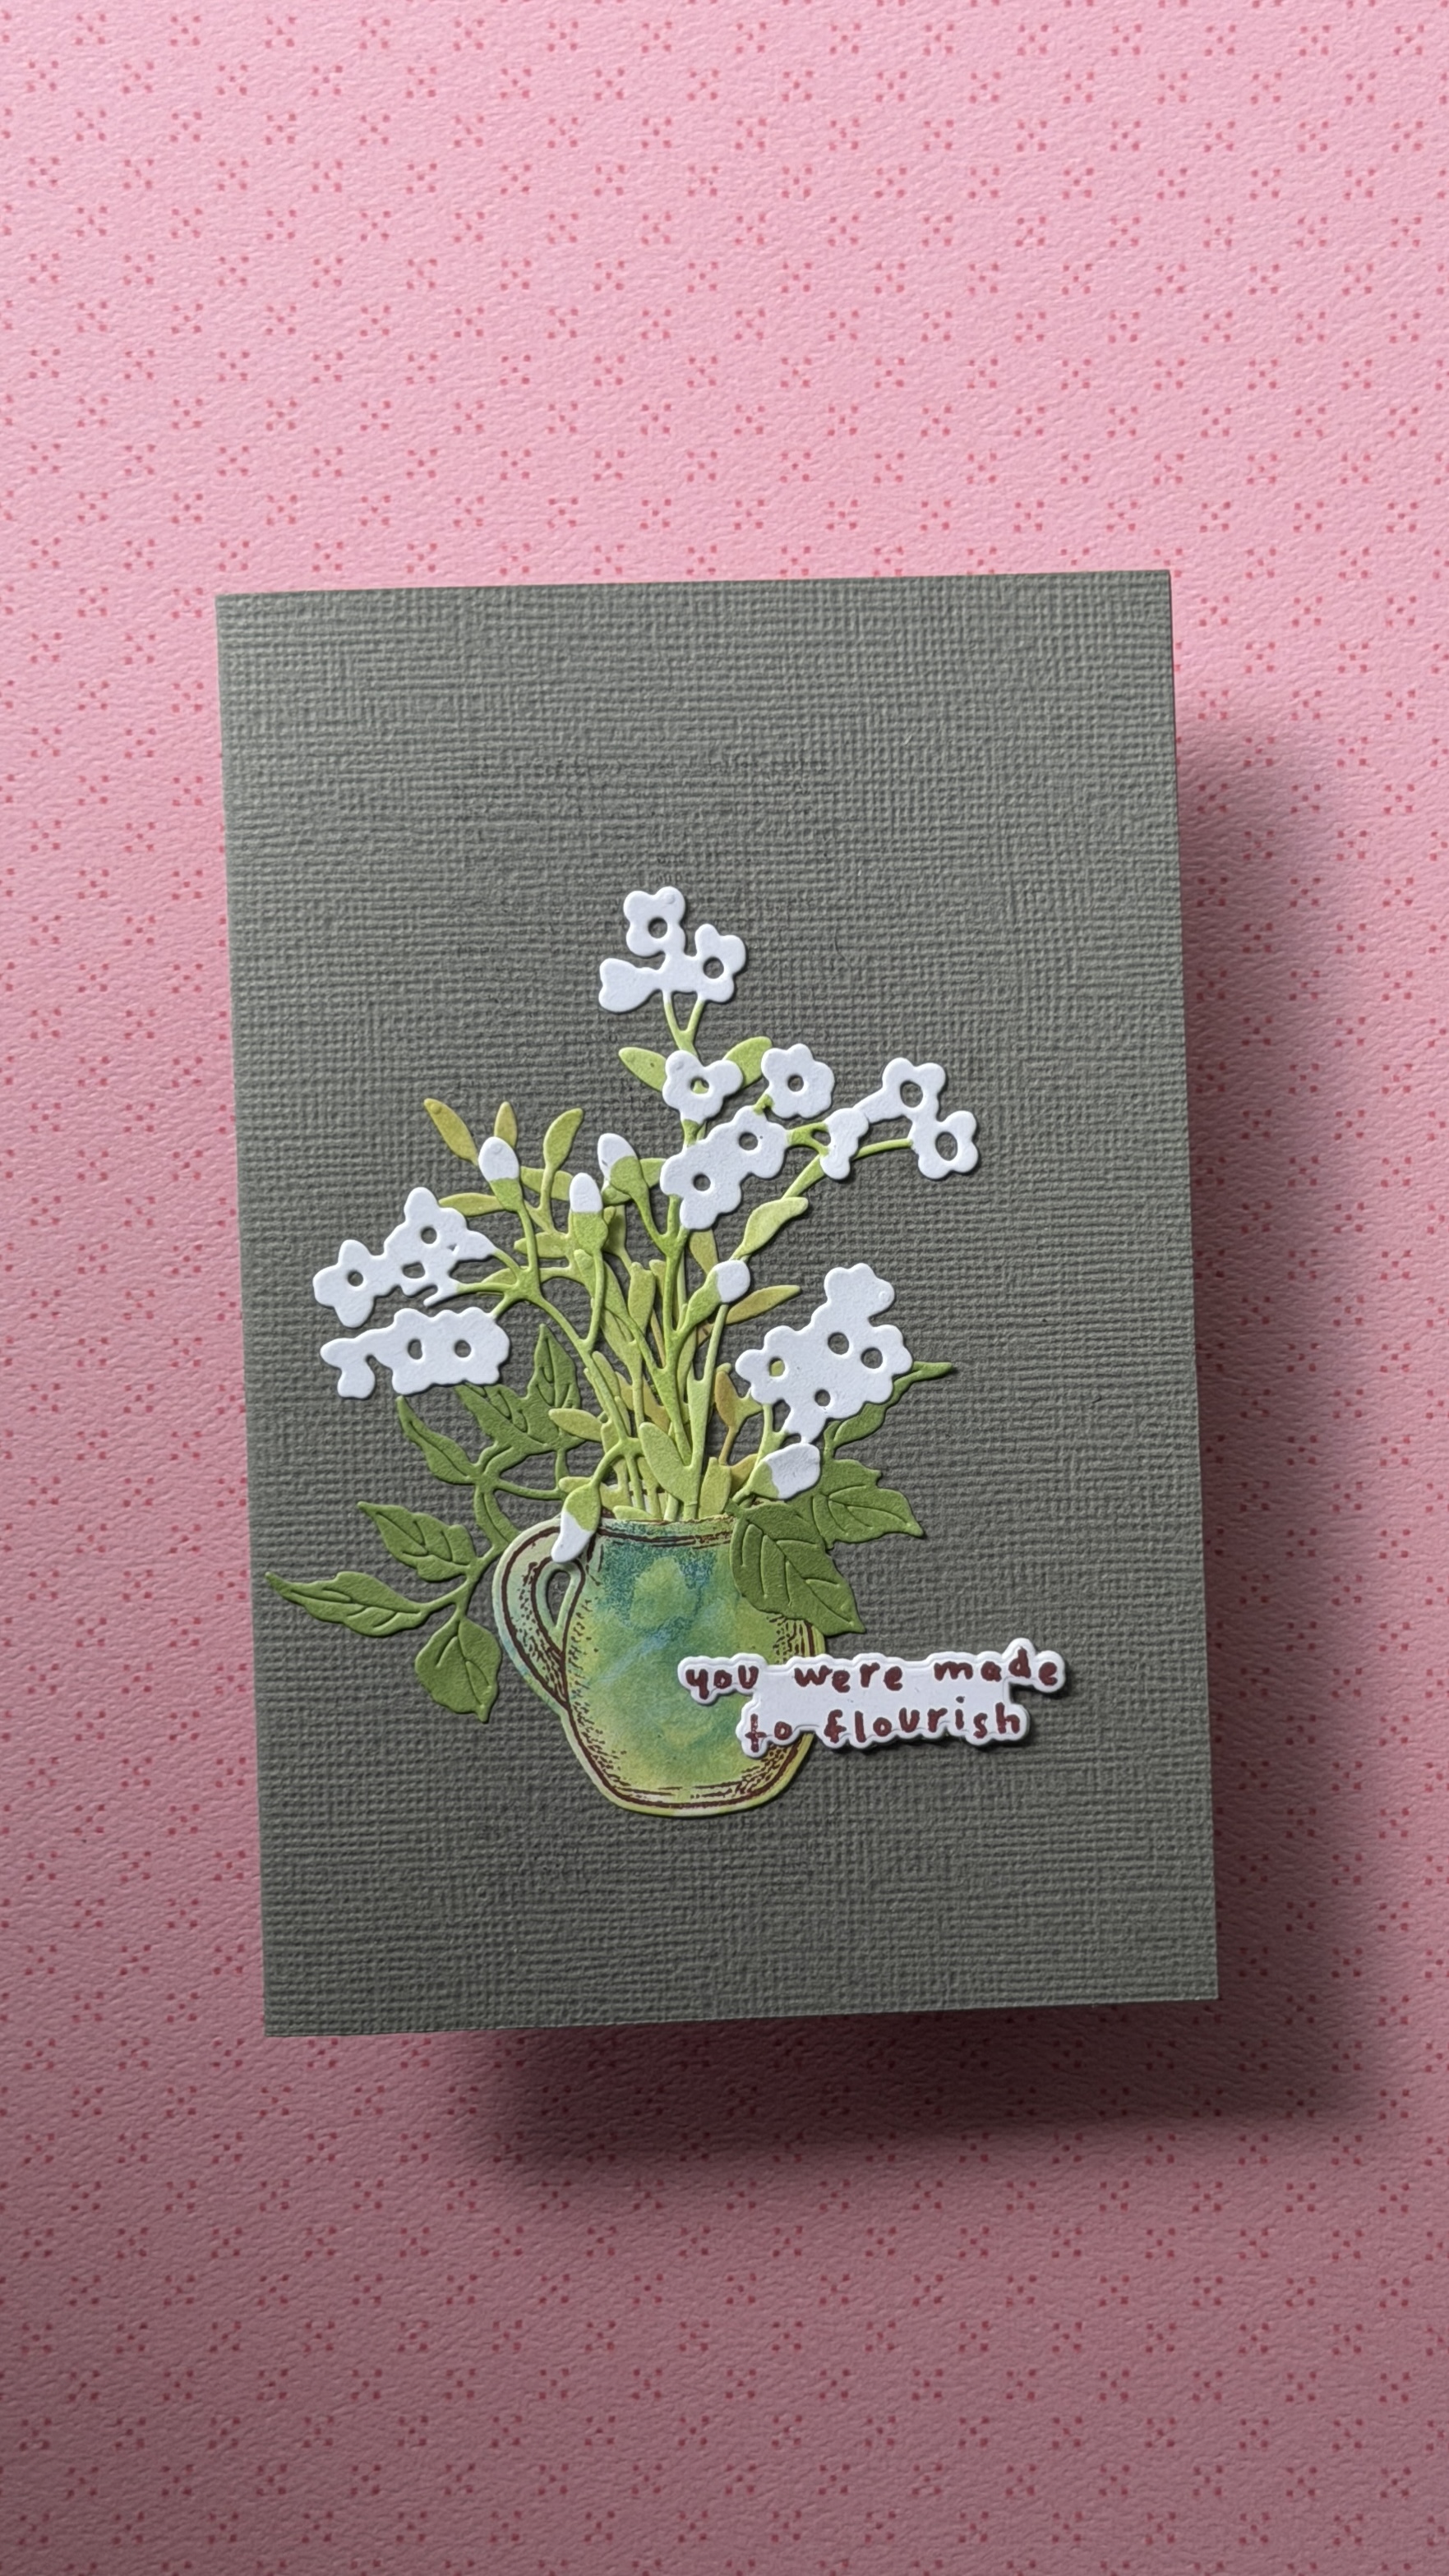
I am excited to step into the craft room with you today to share a card that is all about organic textures, soft color palettes, and a sweet message of encouragement! Sometimes, the most satisfying designs come from combining simple element shapes—a watercolored pitcher, crisp white florals, and a grounding, earthy background.

Best of all, this project relies on one of my favorite stash-busting secrets: repurposing watercolor practice sheets from previous cardmaking sessions! Let’s break down the step-by-step design process so you can recreate this botanical look in your own creative space.
🛠️ Step 1: The Textured & Grounded Base
To make our floral arrangement truly pop, we start with a deep, moody background panel. I chose a rich olive-grey cardstock featuring subtle texture. Using a dark background instantly adds dramatic contrast without cluttering the layout, allowing every delicate stem and bloom to stand out cleanly.
🌿 Step 2: Pitcher & Florals (Featuring Simon Says Stamp!)
For our main focal point, we combine a soft pitcher with airy botanical stems:
- The Pitcher: Cut using the pitcher die from this month’s @simonsaysstamp Card Kit! (How awesome is it that they included matching dies with the stamps this month? 🎉) To give it unique texture, I actually repurposed a piece of ink blended practice paper leftover from an earlier project!
- The Stems & Florals: Layer delicate leafy stems inside and behind the pitcher. Top them with sweet, crisp white blooms featuring. These are made with Altenew dies from white cardstock. I colored in the green parts using a Copic marker. I added a slit at the top of my pitcher and tucked the stems of these florals inside the rim. Layering the flowers this way creates the illusion of a freshly gathered arrangement straight from the garden!
💬 Step 3: Sentiment Placement & Visual Balance
To tie the composition together, stamp and die-cut the “you were made to flourish” sentiment from the same @simonsaysstamp Card Kit. Tuck the sentiment strip directly along the bottom curve of the pitcher. Placing the greeting near the base grounds the entire arrangement and draws the eye directly to the heartfelt message.
💬 COMMUNITY CORNER: Do you keep a scrap bin for your watercolor practice sheets, or do you tend to start fresh for every single card? I’d love to hear how you stretch your paper supplies in the comments below! 👇
Thank you so much for stopping by today! I hope this project inspires you to repurpose your craft scraps and try out new die combinations on your next card.
Enjoy creating! Hugs!
~Varada
Leave a Reply